If your skin feels like sandpaper every winter — or honestly, all year round — you’re not alone. Dry skin is incredibly common, and most store-bought moisturizers are packed with water, fillers, and ingredients you can’t even pronounce. That’s exactly why DIY lotion bars have become such a popular trend. They’re simple, affordable, and incredibly effective. Let’s dive in!
Table of Contents
What Are DIY Lotion Bars?

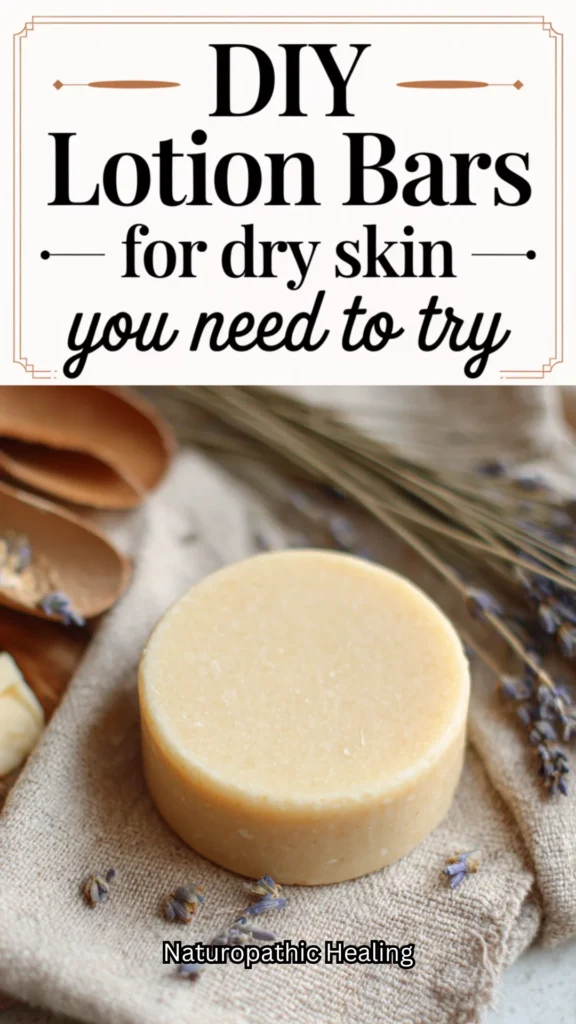
Lotion bars are solid moisturizers that melt right into your skin when you rub them between your hands or directly onto your body. Think of them as the lovechild of a body butter and a lip balm — but for your whole body. They’re mess-free, travel-friendly, and last way longer than liquid lotions. Plus, making homemade lotion bars means you control every single ingredient that touches your skin.
Why Make Your Own Lotion Bars?
Here’s the thing — commercial moisturizers often contain preservatives and synthetic fragrances that can actually irritate sensitive or dry skin. When you make your own natural lotion bars, you skip all that. Because this recipe contains absolutely no water (it is anhydrous), bacteria and mold cannot grow in it, meaning it naturally doesn’t require any chemical preservatives!
You also save money in the long run, and let’s be honest, there’s something really satisfying about using a product you made yourself.
DIY lotion bars are also zero-waste. No plastic pump bottles, no single-use packaging. Just pure, nourishing goodness in a solid bar you can store in a reusable tin or wrap in parchment paper.
Key Ingredients You’ll Need
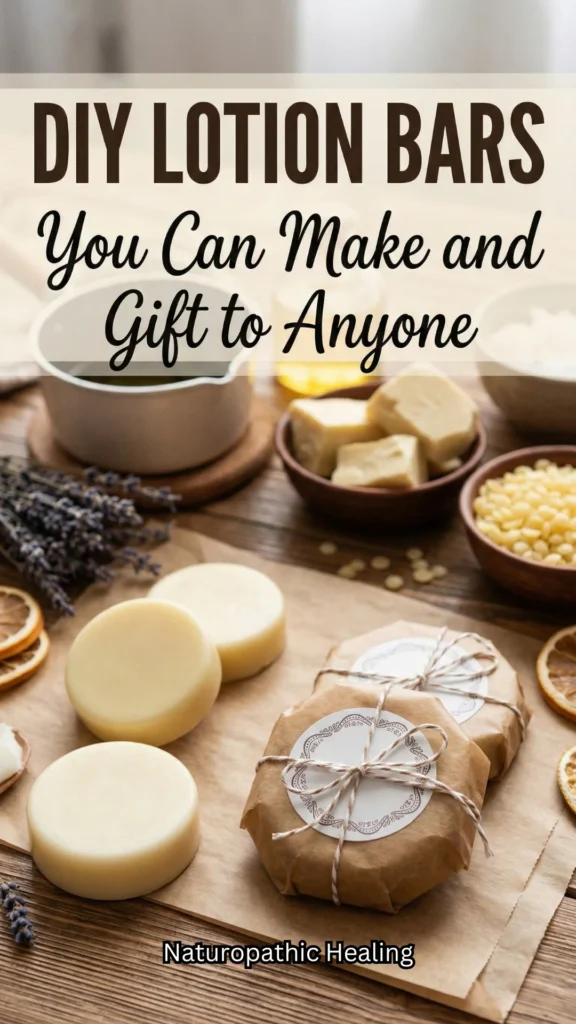
The beauty of making lotion bars at home is that you only need a handful of simple ingredients:
- Beeswax — gives the bar its solid structure and helps lock in moisture
- Shea butter — deeply nourishing and perfect for soothing very dry skin.
- Coconut oil — creates a rich, protective barrier that locks in moisture.
- Sweet almond oil — rich in vitamin E and great for softening skin.
- Essential oils — for fragrance and added skin benefits (lavender, peppermint, and frankincense are fan favorites).
You can find all of these at your local health food store or online. The beeswax lotion bar base is what makes these bars solid at room temperature but melty on contact with body heat — pure magic.

- Organic Beeswax:Our beeswax pellets come from bee farms.Natural beeswax contains propolis and bee…
Easy DIY Lotion Bar Recipe
Ready to make your first batch of homemade moisturizing bars? Here’s a simple recipe that comes together in under 30 minutes.
Pro-tip: While using measuring cups works well, measuring your solid ingredients by weight using a digital kitchen scale will give you the most consistent results every time.
You’ll need:
- 1/4 cup beeswax (pellets are easiest to work with)
- 1/4 cup shea butter
- 1/4 cup coconut oil
- 1 tbsp sweet almond oil
- 20–30 drops of your favorite essential oil
Instructions:
- Set up a double boiler by placing a heat-safe glass bowl over a pot of simmering water.
- Add the beeswax first, since it takes the longest to melt completely.
- Stir in the butters and oils. Once the beeswax is melted, add the shea butter and coconut oil, stirring gently.
- Remove from heat and stir in the sweet almond oil.
- Let it cool slightly, then add your essential oils (adding them to piping hot oil can evaporate them and reduce their potency).
- Pour the mixture into silicone molds or a muffin tin lined with paper cups.
- Let them set at room temperature for a few hours — or pop them in the fridge to speed things up!
That’s it! Your DIY solid lotion bars are ready to use. To apply, simply rub the bar between your palms until it softens slightly, then massage it into your skin.
Tips for Getting the Best Results
- Adjust for your climate: If you live somewhere very warm, add a bit more beeswax so your bars don’t get too soft.
- Patch test: Always test your essential oils on a small patch of skin before making a full batch, especially if you have sensitive skin.
- Watch the citrus: If you decide to experiment with citrus essential oils like lemon, lime, or bergamot, be aware that they can be phototoxic (making your skin sensitive to the sun). Avoid applying them right before spending time in direct sunlight.
- Storage: Store your bars in a cool, dry place away from direct sunlight. A small tin or a reusable muslin bag works perfectly.
- Customize the butter: For extra-dry skin, try swapping coconut oil for mango butter or cocoa butter — they are incredibly rich and hydrating.
Best Essential Oils for Dry Skin Lotion Bars
Not all essential oils are created equal when it comes to skin-nourishing lotion bars. Here are a few top picks:
- Lavender — calming, great for sensitive skin
- Frankincense — promotes skin cell regeneration
- Rose — deeply hydrating and luxurious
- Tea tree — helpful if you deal with any skin irritation
Mixing a few together creates your own signature scent — and trust us, gifting handmade lotion bars is always a hit.
Save This for Later!
If you loved this DIY lotion bars recipe, don’t let it get lost in the scroll! Save this pin to your favorite Pinterest board — whether that’s your natural beauty board, your self-care ideas board, or your gift ideas for friends. And while you’re at it, share it with someone who’s been struggling with dry skin. They’ll thank you later!
Recommended Readings
- Spring Hibiscus Glow Soap (Beginner Melt & Pour)
- Spring Citrus Oatmeal Soap for Smooth Summer Skin
- Aloe Cucumber After-Sun Soap Recipe for Soothing Summer Skin
- Spring Soap Recipes for Beginners: Prep Your Skin for Summer
- How to Make Lavender Soap Bars Using Natural Ingredients
- DIY Soap Bars for Beginners: Create Your Own Scented Relief at Home
Instead of shea butter, can I use tallow or mango butter?
Yes! Both can be used successfully. Mango butter is probably the closest substitute and can be swapped 1:1 for shea butter. Tallow also works beautifully for very dry skin, although it may create a firmer bar and give it a slightly different scent.
As for shelf life, mango butter should keep about as long as shea butter. Tallow-based bars can also last for many months, especially if the tallow is fresh and properly rendered. In either case, storing your lotion bars in a cool, dry place will help them last longer. I always recommend making a small test batch first to see which texture you like best!