So you want to learn how to make sugar scrub for beginners? You’re in for a treat! Making your own homemade sugar scrub is one of the easiest and most rewarding DIY beauty projects you can tackle. Whether you’re creating luxurious sugar scrubs for gifts, planning to sell them at craft fairs, or just pampering yourself, this beginner-friendly guide will walk you through everything you need to know.
Table of Contents
Why Make Your Own Sugar Scrub?
Before we dive into the recipe, let’s talk about why making sugar scrub at home is such a great idea. First off, you know exactly what’s going into your product. No mysterious chemicals or unpronounceable ingredients here! Plus, homemade sugar scrubs are incredibly cost-effective. That fancy scrub at the store that costs $30? You can make something even better for just a few dollars.
Another amazing bonus is that sugar scrubs make fantastic gifts. Your friends and family will love receiving something you crafted with your own hands, and you’ll love how impressed they are with your new skill!
Understanding the Basics
Sugar scrubs work by gently exfoliating dead skin cells while moisturizing at the same time. The sugar granules buff away dullness, while the oils penetrate and hydrate your skin. It’s a two-in-one treatment that leaves your skin feeling baby-soft and glowing.
The beauty of learning how to make sugar scrub for beginners is that the base recipe is incredibly simple. Once you master it, you can customize with different oils, scents, and add-ins to create endless variations.
Choosing Your Ingredients
When you’re making sugar scrub, ingredient quality matters. For the sugar, white granulated sugar is gentle and perfect for sensitive skin or facial use. Brown sugar has slightly smaller granules and adds a subtle molasses scent. For body scrubs, either works beautifully.
Your oil choice is equally important. Coconut oil is popular because it’s solid at room temperature, making your scrub easier to scoop and less messy. Sweet almond oil, jojoba oil, and olive oil are also excellent choices. Each brings its own skin-loving benefits to your homemade creation.
Basic Sugar Scrub Recipe

Here’s your starter recipe for how to make sugar scrub for beginners. This yields about one cup of scrub, perfect for testing or gifting in small jars.

- TAKE A BREAK: Daily stress can take a toll on your physical and mental health. Use aromatherapy to bring yourself back to wellness. Our pack features pure therapeutic grade oils that help calm the mind, initiating relaxation. Perfect for DIY candle making or soap making.
Ingredients:
- 1 cup granulated or brown sugar
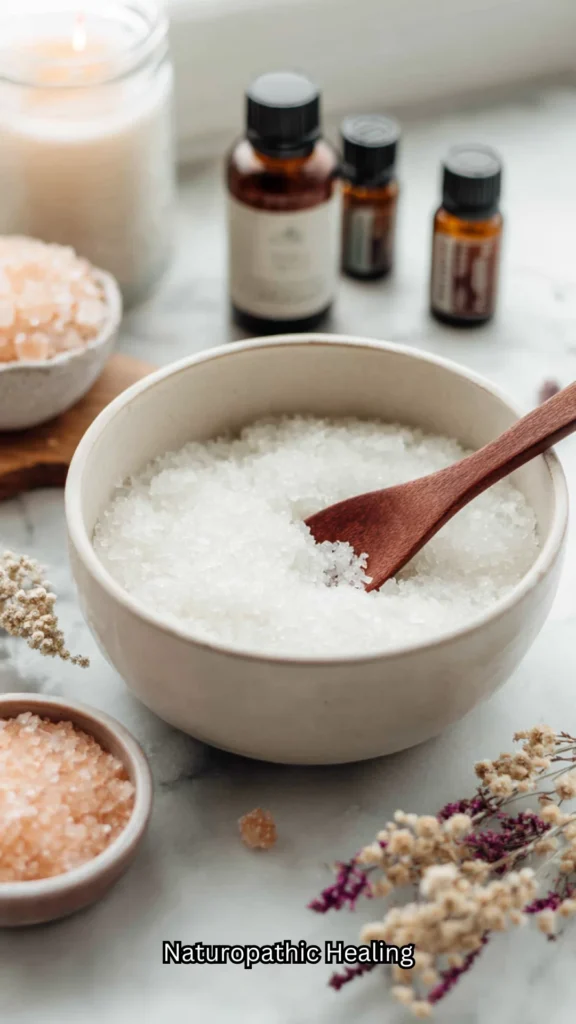
- ½ cup coconut oil (melted) or oil of your choice
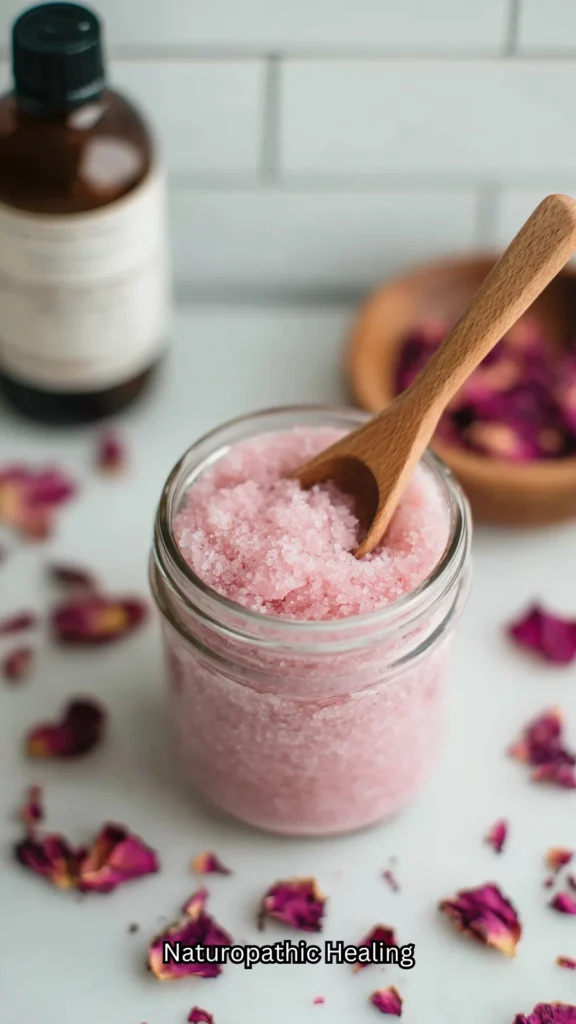
- 10-15 drops essential oil (optional, try lavender, peppermint, or vanilla)
- 1 teaspoon vitamin E oil (optional, but great for skin)
- Natural colorant like mica powder (optional, for aesthetics)
Instructions:
- Measure your sugar into a medium mixing bowl
- If using coconut oil, gently melt it until liquid (don’t overheat)
- Pour the melted oil over the sugar slowly
- Stir thoroughly until all sugar is coated and the mixture looks like wet sand
- Add your essential oils and mix well to distribute the scent evenly
- Add vitamin E oil if using and stir to combine
- If adding color, sprinkle in mica powder gradually and mix until you achieve the desired shade
- Transfer your finished scrub into clean, dry jars with tight-fitting lids
- Label your jars with the date and ingredients
Tips for Perfect Sugar Scrub Every Time
The ratio is key when making sugar scrub. The general rule is 2 parts sugar to 1 part oil. This creates the perfect consistency—not too oily, not too dry. If your scrub seems too wet, add more sugar. If it’s too crumbly, add a bit more oil.
Mix your ingredients gently but thoroughly. You want every sugar crystal coated with oil, ensuring an even, luxurious texture throughout your homemade sugar scrub.
Customizing Your Scrub
Once you’ve mastered the basic recipe for how to make sugar scrub for beginners, the fun really begins! Try adding dried lavender buds, coffee grounds for extra exfoliation, or a tablespoon of honey for additional moisturizing properties.
For seasonal variations, consider peppermint and vanilla for winter, citrus scents for summer, or pumpkin spice for fall. These customizations make your sugar scrubs perfect for gifts tailored to the recipient’s preferences.
Packaging for Gifts or Sale
If you’re making sugar scrub for gifts or to sell, presentation matters. Mason jars are classic and affordable. Add a fabric circle on the lid tied with twine, a handwritten label, and a small wooden spoon, and you’ve got a professional-looking product.
For selling, ensure you include ingredient lists and any relevant warnings (like avoiding use on broken skin). Your homemade sugar scrubs should look as good as they perform.
Storage and Shelf Life
Store your sugar scrub in airtight containers away from water and direct sunlight. Because you’re using fresh ingredients without preservatives, your scrub will last about 2-3 months. The vitamin E oil acts as a natural preservative, extending shelf life slightly.
Always use clean, dry hands or a spoon when scooping out your scrub to prevent introducing bacteria or moisture that could spoil your product.
How to Use Your Sugar Scrub
Using your homemade sugar scrub is simple. In the shower, after your skin is warm and damp, scoop out a generous amount and gently massage it onto your skin in circular motions. Focus on rough areas like elbows, knees, and heels. Rinse thoroughly with warm water and pat dry. You’ll immediately feel the difference!
Use your scrub 2-3 times per week for best results. Over-exfoliating can irritate skin, so don’t overdo it.
Final Thoughts
Learning how to make sugar scrub for beginners opens up a world of possibilities. Whether you’re creating spa-quality products for yourself, crafting thoughtful gifts for friends, or starting a small business, this skill is incredibly valuable. The process is therapeutic, the results are amazing, and the cost savings are significant.
Start with this basic recipe, then let your creativity run wild. Before you know it, you’ll be the go-to person in your circle for beautiful homemade sugar scrubs that everyone adores.
Don’t forget to save this pin to your DIY beauty or sugar scrub recipes board on Pinterest so you can find it whenever you need it! Share it with friends who’d love to try making their own sugar scrubs too. Happy scrubbing!
