If you’ve ever wanted to skip the store-bought moisturizers packed with unpronounceable ingredients, you’re going to love this. A beeswax lotion bars recipe is one of the easiest, most satisfying DIY skincare projects you can tackle — even if you’ve never made anything like this before. These little bars melt right into your skin, leaving it silky, hydrated, and smelling absolutely amazing.
Table of Contents
What Are Beeswax Lotion Bars?
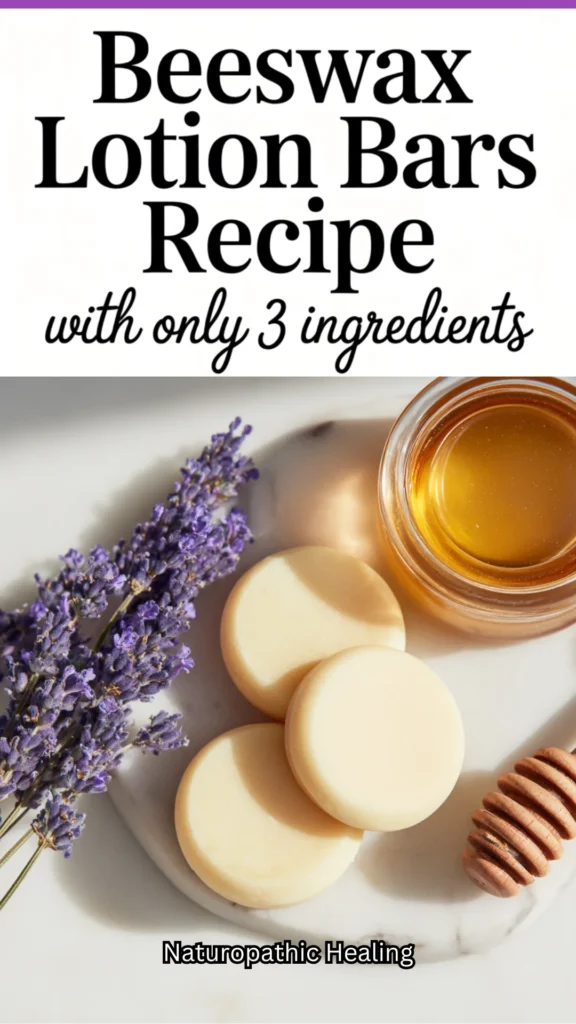
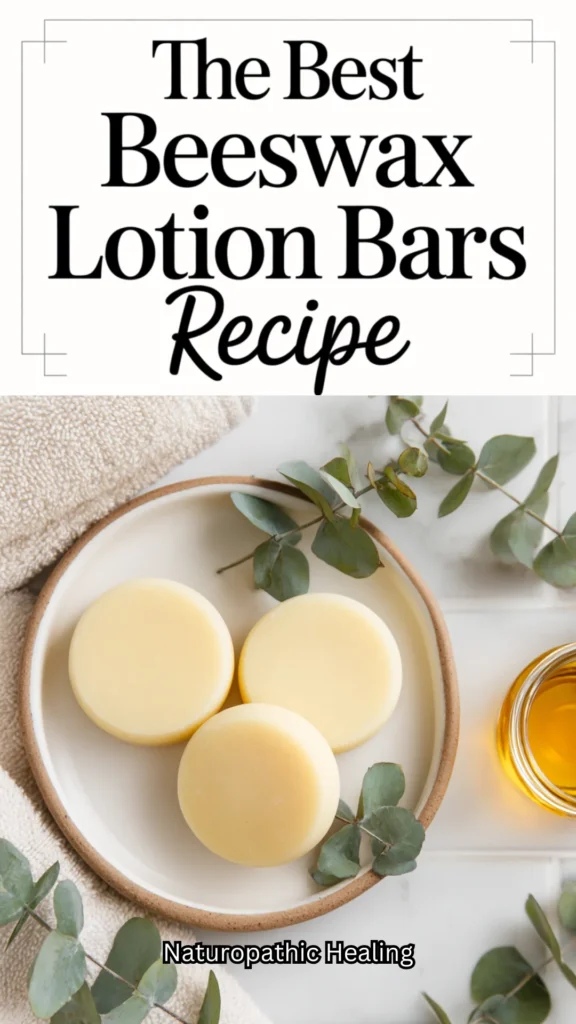
Beeswax lotion bars are solid moisturizers that melt from the warmth of your skin when you rub them on. Think of them as a bar of soap — but instead of cleansing, they deeply nourish. They’re mess-free, travel-friendly, and last way longer than traditional lotions. Best of all? You know exactly what goes into them.
Why Make Your Own Lotion Bars?
Here’s the thing — most commercial lotions are loaded with water, preservatives, and synthetic fillers. When you make your own DIY beeswax lotion bars, you’re choosing:
- Pure, natural ingredients with no hidden chemicals
- A zero-waste skincare option (no plastic pump bottles!)
- Full control over scent and texture
- A beautiful handmade gift for friends and family
Ingredients You’ll Need
This simple beeswax lotion bar recipe uses just three base ingredients — and everything else is optional customization.
Base Ingredients:
- 1 part beeswax pellets (yellow or white)
- 1 part shea butter (or cocoa butter)
- 1 part coconut oil (or sweet almond oil)
Optional Add-ins:
- 20–30 drops of essential oils: Lavender and peppermint are classics. Note: If using citrus oils (like lemon or lime), be aware they can be photosensitive—avoid direct sunlight on those areas for 12 hours.
- 1 teaspoon Vitamin E oil: For extra skin-nourishing power and to help keep the oils fresh.
- 1 teaspoon Arrowroot powder: This is the secret to a “non-greasy” finish!
- Dried herbs or botanicals: For visual appeal.
Pro-Tip: A “part” can be any unit of measurement — tablespoons, ounces, or grams. Just keep the ratio equal (e.g., 1/2 cup of each).


How to Make Beeswax Lotion Bars — Step by Step
Making these homemade lotion bars is genuinely foolproof. Here’s exactly how to do it:
Instructions:
- Set up a double boiler by placing a heatproof bowl over a pot of simmering water (or use a dedicated double boiler).
- Add your beeswax pellets first — they take the longest to melt.
- Once the beeswax is mostly melted, add shea butter and stir gently.
- Pour in your coconut oil and continue stirring until everything is fully combined and smooth.
- Remove from heat and let cool for 2–3 minutes — you want it warm but not scorching.
- Stir in vitamin E oil and your chosen essential oils.
- Carefully pour the mixture into silicone molds (heart shapes, round discs, or even a muffin tin work great).
- Let them cool at room temperature for 1–2 hours, or pop them in the fridge for 30 minutes to speed things up.
- Once fully solid, pop them out of the molds and store in a cool, dry place.
How to Use Your Lotion Bars
Using a natural beeswax moisturizer bar couldn’t be simpler. Just pick it up, rub it between your palms or directly onto dry skin areas like elbows, knees, and heels. The warmth of your body melts the bar just enough to release those nourishing oils. A little goes a long way — seriously, these things last forever.
Store them away from heat (your car in summer is a no-go!) and keep them in a tin, a small cloth bag, or wrapped in parchment paper.
Tips for the Best Results
- Color Choice: Use yellow beeswax for a richer, honey-like scent or white beeswax for a neutral base.
- Custom Texture: Want a harder bar? Increase the beeswax ratio slightly. Want a softer, silkier bar? Add more shea butter.
- Non-Greasy Feel: If you find them too oily, don’t skip the arrowroot powder! It helps the oils absorb faster.
Share the Love!
If you loved this beeswax lotion bars recipe, don’t keep it to yourself! Save this pin to your DIY Skincare or Natural Beauty Pinterest board so you can find it whenever you need it. And share it with a friend who loves natural, homemade beauty products — because great skin secrets are always better when passed along.

Recommended Readings
- Easy DIY Lotion Bars for Dry Skin: Your New Skin Care Secret
- Spring Hibiscus Glow Soap (Beginner Melt & Pour)
- Spring Citrus Oatmeal Soap for Smooth Summer Skin
- Aloe Cucumber After-Sun Soap Recipe for Soothing Summer Skin
- Spring Soap Recipes for Beginners: Prep Your Skin for Summer
- How to Make Lavender Soap Bars Using Natural Ingredients
- DIY Soap Bars for Beginners: Create Your Own Scented Relief at Home